In this article, Benjamin Guler, Director of Software Development at Chaos, demonstrates step by step how to use Veras to animate the construction of a project using a Revit sample model.
While high-end construction sequencing often requires complex software and weeks of labor, this Veras and Revit workflow offers a streamlined, AI-driven alternative. In this workflow, I explore how to leverage Revit’s visibility settings alongside Veras’s predictive rendering capabilities to produce animations.
Please note that this is more for illustrative purposes, for a more accurate construction animation, we would need to setup the visibility of the items more accurately.
What to expect from this workflow:
1. Setup Revit visibility
Establish the foundation by setting up Revit visibility. Start in the Revit viewport, then hide unnecessary categories and links to isolate your primary structure.
Use a Section Box to start with the lower level—I selected the site so I can have x-ray vision for some of the structural members.
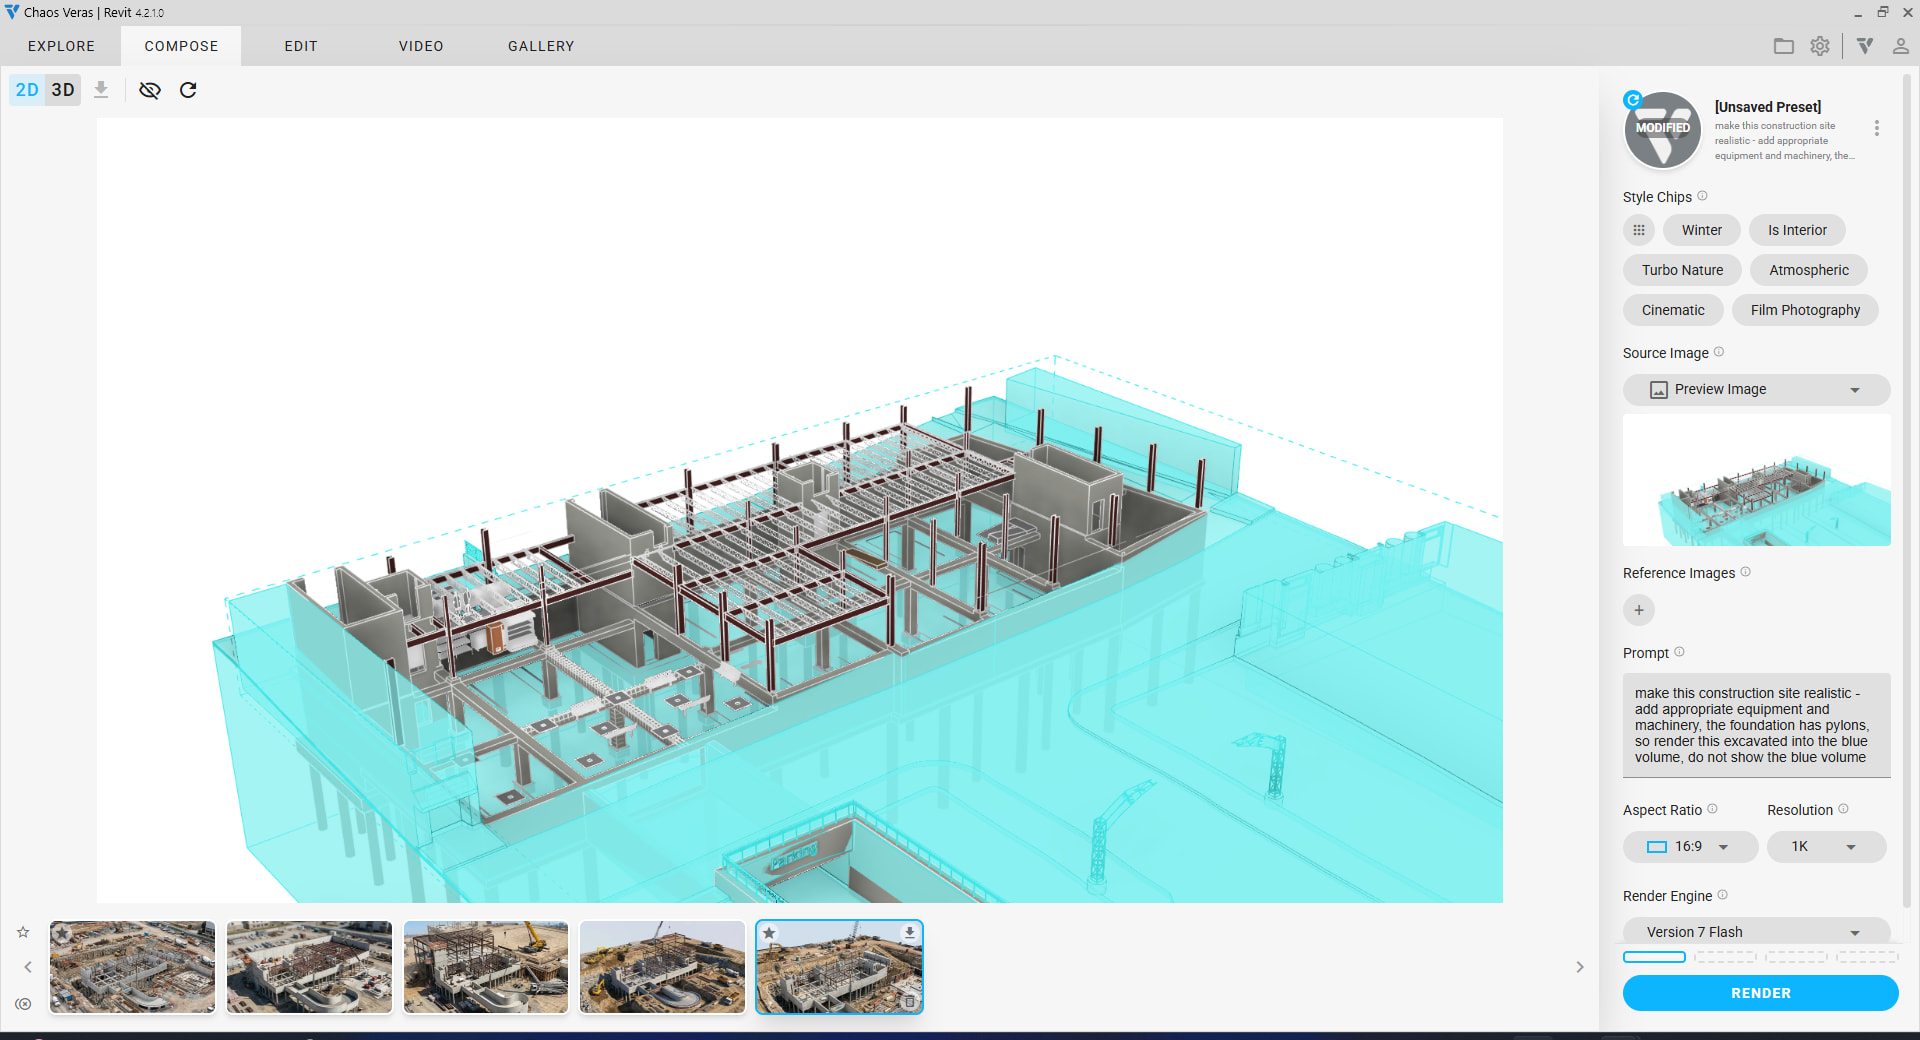
Then, render a still in Veras.
2. Render with reference
Remove the Section Box to reveal the next phase—to see the rest of the structural model. I also unhid the site but kept the floors hidden.
Use your first render as a style reference to render the next stage.
3. Render reference and visibility
For each new frame, unhide the relevant Revit elements and use the previous stage as your stylistic anchor.
Then, repeat this process for every critical stage of the build—from HVAC and plumbing runs to the finished project.
Bonus: Want to show the project’s versatility? Switch your settings for the final frame to create a stunning night shot to conclude the sequence on a high note.
4. Generating and combining video segments
With your keyframes rendered, head to the Video Tab in Veras.
Create transitions by generating a video segment for each pair of images. You can do this by selecting the first frame to be the previous video’s last frame and so on and so forth. If you have 6 frames, you will produce 5 smooth transition videos.
My preference is to favorite the videos that are final, then select them all. Finally, I click the 'Combine' button (which is usually the 'render' button).
5. Final output
This workflow is a game-changer for illustrative storytelling. While it doesn't replace a full BIM schedule, it provides a fast, visually stunning way to show how a project comes together. By bridging the gap between Revit’s precision and Veras’s AI, you can transform static models into cinematic progress reports quickly and easily.
